The Northern Lights, or Aurora Borealis, are one of nature’s most breathtaking displays—a mystical dance of light across the night sky that captivates travelers and photographers alike. Capturing this elusive phenomenon can feel like a challenge, but with the right techniques and preparation, photographing the Northern Lights in all their glory can create quite the display.
Here’s a step-by-step guide to help you get started on photographing the Northern Lights, whether you’re a beginner or an experienced photographer.
choose the right location and timing
The Northern Lights are best seen in high-latitude regions near the Arctic Circle, such as northern Norway, Sweden, Finland, Iceland, and parts of Canada and Alaska. Here are a few tips for finding the right spot:
- Travel North: The closer you are to the poles, the better your chances.
- Avoid Light Pollution: Find a remote area away from city lights to make the aurora stand out clearly.
- Check the Weather: Clear skies are essential. Check aurora forecasts and weather apps to increase your chances of seeing the lights. TIP: We also enjoy using the “aurora” app on our phones to see when the northern lights are most likely to be visible and where is already capturing the moment.
The best time to see the Northern Lights is typically between September and March, with the darkest winter months offering prime conditions.
gear essentials for Photographing the northern lights
You don’t need an entire suitcase full of gear to photograph the aurora, but there are a few items that will make your experience much easier:
- Camera: A DSLR or mirrorless camera with manual settings is ideal.
- Wide-Angle Lens: A fast wide-angle lens with an aperture of f/2.8 or lower allows you to capture more of the sky and gather the light quickly.
- Tripod: Long exposures are key to capturing the Northern Lights, so a sturdy tripod is essential to avoid camera shake.
- Remote Shutter Release or Timer: Reducing the risk of shaking the camera during a long exposure is important for sharp shots.
mastering camera settings
Understanding how to manually adjust your camera settings is the most crucial step in capturing the Northern Lights. Here’s a quick guide to get you started:
- Aperture: Set your aperture to the widest possible (e.g., f/2.8). This allows your lens to gather more light from the sky.
- Shutter Speed: Start with an exposure time of 5-20 seconds. If the lights are moving quickly, opt for shorter exposures to keep details sharp. If they’re slower, a longer exposure will capture more light and color.
- ISO: Use an ISO setting between 800 and 3200. The higher the ISO, the more sensitive your camera is to light, but keep in mind that a very high ISO can introduce noise in the image.
- Focus: Manually focus your camera on infinity, or use live view to focus on a bright star. Automatic focus often struggles in low-light conditions, so don’t rely on it.
composition tips for stunning shots
While the aurora is mesmerizing, incorporating elements from the surrounding landscape can add context and depth to your photos. Here are some tips for composition:
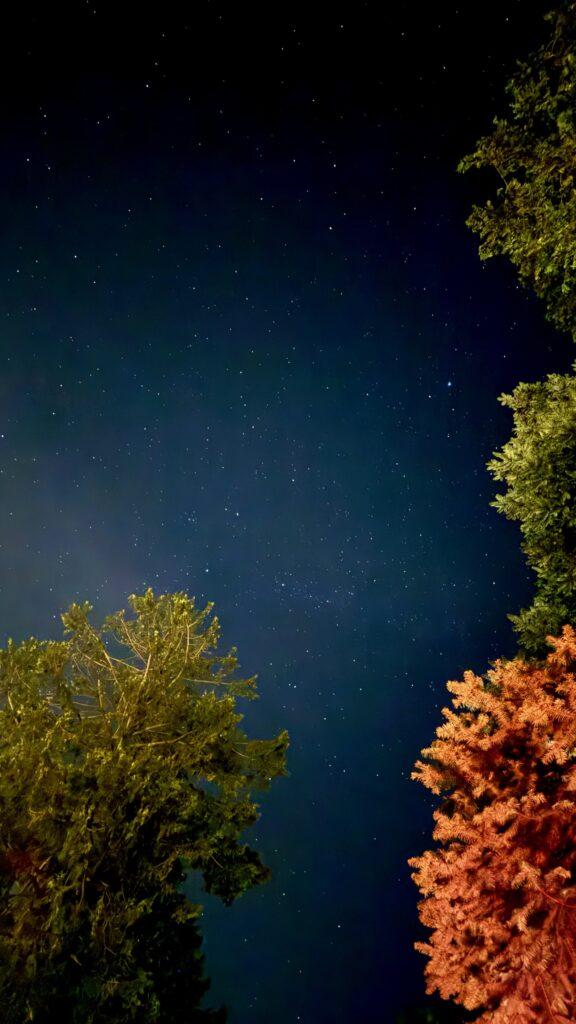
- Foreground Interest: Include silhouettes of trees, mountains, or other natural features to give your photo scale and a sense of place.
- Rule of Thirds: Keep the horizon low, positioning the sky and aurora in the upper two-thirds of the frame.
- Experiment with Angles: The lights can vary in intensity and form, so play around with your angles to capture different perspectives. Some may prefer a wide shot of the entire sky, while others might zoom in on the swirling patterns.
be patient and prepared for the cold
Photographing the Northern Lights often involves standing outside in sub-zero temperatures for extended periods, so preparation is key. Here’s how to stay comfortable and increase your chances of success:
- Dress in Layers: Warm, layered clothing, including thermal gloves and boots, is a must.
- Bring Extra Batteries: Cold weather drains batteries quickly, so bring spares and keep them warm in your pockets.
- Be Patient: The Northern Lights are unpredictable. It may take a while for them to appear, and they may not always be as vivid as you expect. But when they do show up, it’s worth the wait!
post processing your aurora photos
Once you’ve captured your images, a little post-processing can help bring out the vivid colors and contrast in your Northern Lights shots:
- Adjust Exposure and Contrast: Lighten up the shadows and increase contrast to make the aurora pop.
- Boost Saturation: A slight increase in saturation can make the colors of the aurora stand out, but avoid overdoing it to keep the natural look.
- Noise Reduction: If you had to use a higher ISO, applying noise reduction in post-processing will help clean up any graininess in the image.
Photographing the Northern Lights requires patience, preparation, and a bit of trial and error. But the effort pays off when you capture a stunning shot of this ethereal natural wonder. With the right gear, camera settings, and timing, you’ll be well on your way to photographing the aurora’s breathtaking display.


