do you have a water leak inside the RV and have no idea where it was coming from because there are no water lines in that part of the Trailer? Do you also have a refrigerator near the water leak? If so, this article is probably for you.
How to locate the water leak
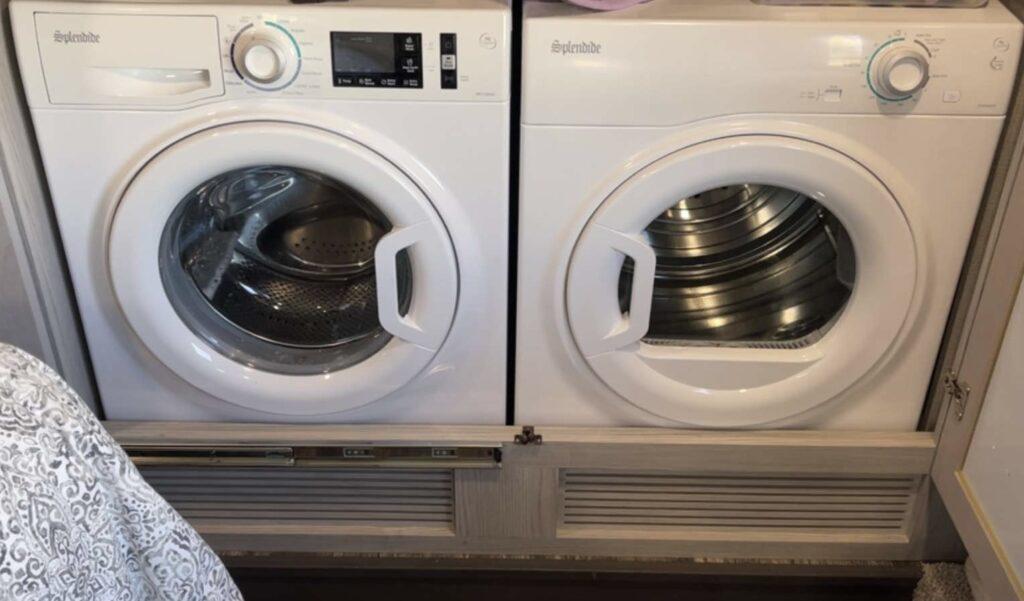
When finding the water leak, there are some things to check that involve removing or disassembling parts of the inside of the trailer. If your refrigerator is not directly on the ground, there may be a small compartment underneath it on the inside of the trailer that has a couple screws holding on the faceplate. Once those screws are removed, you will be able to check underneath to see if there is any water or if the water has dried up. You should be able to see some residue of the dried water and which direction it spread to.
how an rV refrigerator works +
something to think about:
If the underside of the refrigerator is wet and there are no water lines near it, then you can assume the water is coming from the refrigerator.
When in a humid location, the condenser will have a significant amount of water that the refrigerator needs to get rid of. On the inside of the refrigerator there are metal fins that can grow ice when the refrigerator is trying to keep and maintain cooler temperatures. When the ice begins to melt, the water melts into a small catch tray that runs along the back. From that catch tray, there is a hose that funnels the water to the outside of the RV.
On the outside of the RV, there are two compartments for the refrigerator. The bottom compartment has a catch tray for the water that comes from inside the refrigerator. If you’re somewhere humid the second catch tray may not be able to evaporate fast enough for the water trickling in continually. This causes the water to overflow into the second water catch tray and ultimately run underneath the refrigerator.
tools and materials needed:
- Drill
- Silicone
- 1/4 inch polyethylene tube
- 1/4 inch drill bit
- zip ties
- 11 in 1 screwdriver
- silver marker
How to complete the fix
- Find the water catch tray, it is screwed into the exterior wall behind the refrigerator and has a small tube funneling water into the tray.
- Before removing the catch tray, with the silver marker, mark the lowest spot on the tray.
- Unscrew and remove the water catch tray.
- Now in the corner of the tray that is nearest the wall and also on the lowest part of the catch tray, drill a hole with the 1/4 inch drill bit.
- Cut the polyethylene tube long enough so that it can go from the catch tray’s original spot to the outside of the refrigerator cubby (leave plenty since it can be cut again once secured).
- For instance, if the distance from the water catch tray to the opening where you will secure the tube is 30 inches cut a 4 foot piece of tube.
- Slide one end of the tube into the hole you drilled in the tray then use the silicone to seal around the tube on the inside and outside of the catch tray.
- Let the silicone dry before re-installing.
- then install the catch tray back into its original position making sure the new tube is not resting on anything.
- Run the tube out the vent hole beside the door.
- Before zip tying any of the tube down, make sure that the tube is relaxed and not being pushed or pulled. Then zip tie the tube so that it will not move in travel.
- lastly, Make sure to put the original water tube from the refrigerator back into the catch tray.
view more how tos, travels, products, or rv parks to visit!
